Clamp install procedure
| title | Clamp Install ( Carousel ) | LCA-xxxxxx | |
 | Traveler for intervention on The Filter Exchange System & Filter Exchange system parts | Approval Status | DRAFT |
| Rev. | Revision Description | LCN# | Date |
| A | Initial release, D.Laporte | 11-Feb-20 | |
| A.2 | Updated to word + new comments, P.Antilogus | 25-Apr-20 |
| Camera Doc ID | Atrium Doc ID | Validated By | Validation Date |
| LCA-xxxxx | xxxxxxx |
| Initials: | Date: | ||
| Traveler initiated: | |||
| Traveler Closed Out: |
| Part Serial Number: | *Removed Clamp Serial Nb * |
| Index Key | Value |
| Subsystem | Carousel |
| Operation Type | On Camera Maintenance |
| System&Action | Clamping Components |
| Operation Name | Clamp Install Procedure |
| Operation Time | \~1h |
| Operation Description | Each filter are held on the carousel using two clamps (1 X- & 1 X+) , on each side of the filter. When there is no filter engaged in a given carousel slot, the associated clamp(s) can be (un)-installed if needed. |
| Triggered by Maintenance | The regular maintenance frequency of the clamps is not precisely known, we recommend to have at least one of each clamp kind replaced each \~ two years for full inspection. Tracking the usage duration of each clamp is mandatory. |
| Triggered by Monitoring Analysis | Analyzing the filter exchange operation should allow to identify a decrease in performances of a given clamp. The identification of the issue / the trigger for a maintenance is still under investigation. |
| Triggered by Incident recovery | Clamping-Unclamping failure may trig the dismounting of a clamp, to allow for a clamp inspection or replacement. |
| Traveler Steps | |||
| 10 | WARNINGS (Personnel Safety Hazards / PPE) | ||
| 20 | CAUTIONS (Equipment Damage Hazards) | ||
| 20,10 | Do no pull on any cables (electrical or mechanical) to prevent even small tension loads from overloading single wires and breaking them or putting them in a wrong position/tension. | ||
| 30 | Applicable Documents and Drawings | Ref./link | Type |
| 30,10 | Mobile Carousel Assembly | LCA-12500 | Drawing |
| 30,20 | Clamp X- Assembly | LCA-12550 | Drawing |
| 30,30 | Clamp X+ Assembly | LCA-12570 | Drawing |
| 40 | Tools Required | Ref. | Quantity |
| 40,10 | Hexagonal key n04 | 1 | |
| 40,20 | TBD Key to open the window on the camera body ???? | ||
| 50 | Parts, Materials, and Consumables | Ref. | Quantity |
| 60 | Useful Comments & Remarks | ||
| 60,10 |
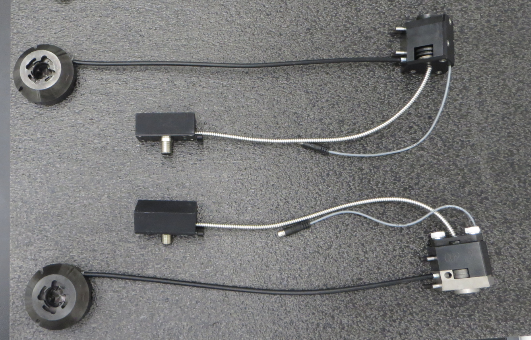
On this picture you can see both type of clamp assembly ( X- and X+) |
| 100 | Rotate the carousel to the right position | Initials | Date |
| 100,10 | Rotate the carousel at the optimal position to mount the desired clamp. TBD for each clamp/carousel slot, we should provide an optimal carousel rotaion postion in function of the window we have to use | ||
| 200 | Cleaning tools before usage | Initials | Date |
| 200,10 | Clean hexagonal key | ||
| 300 | Open the two windows in front of the clamp | ||
| 300,10 |
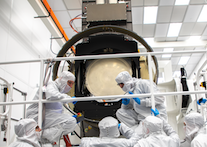
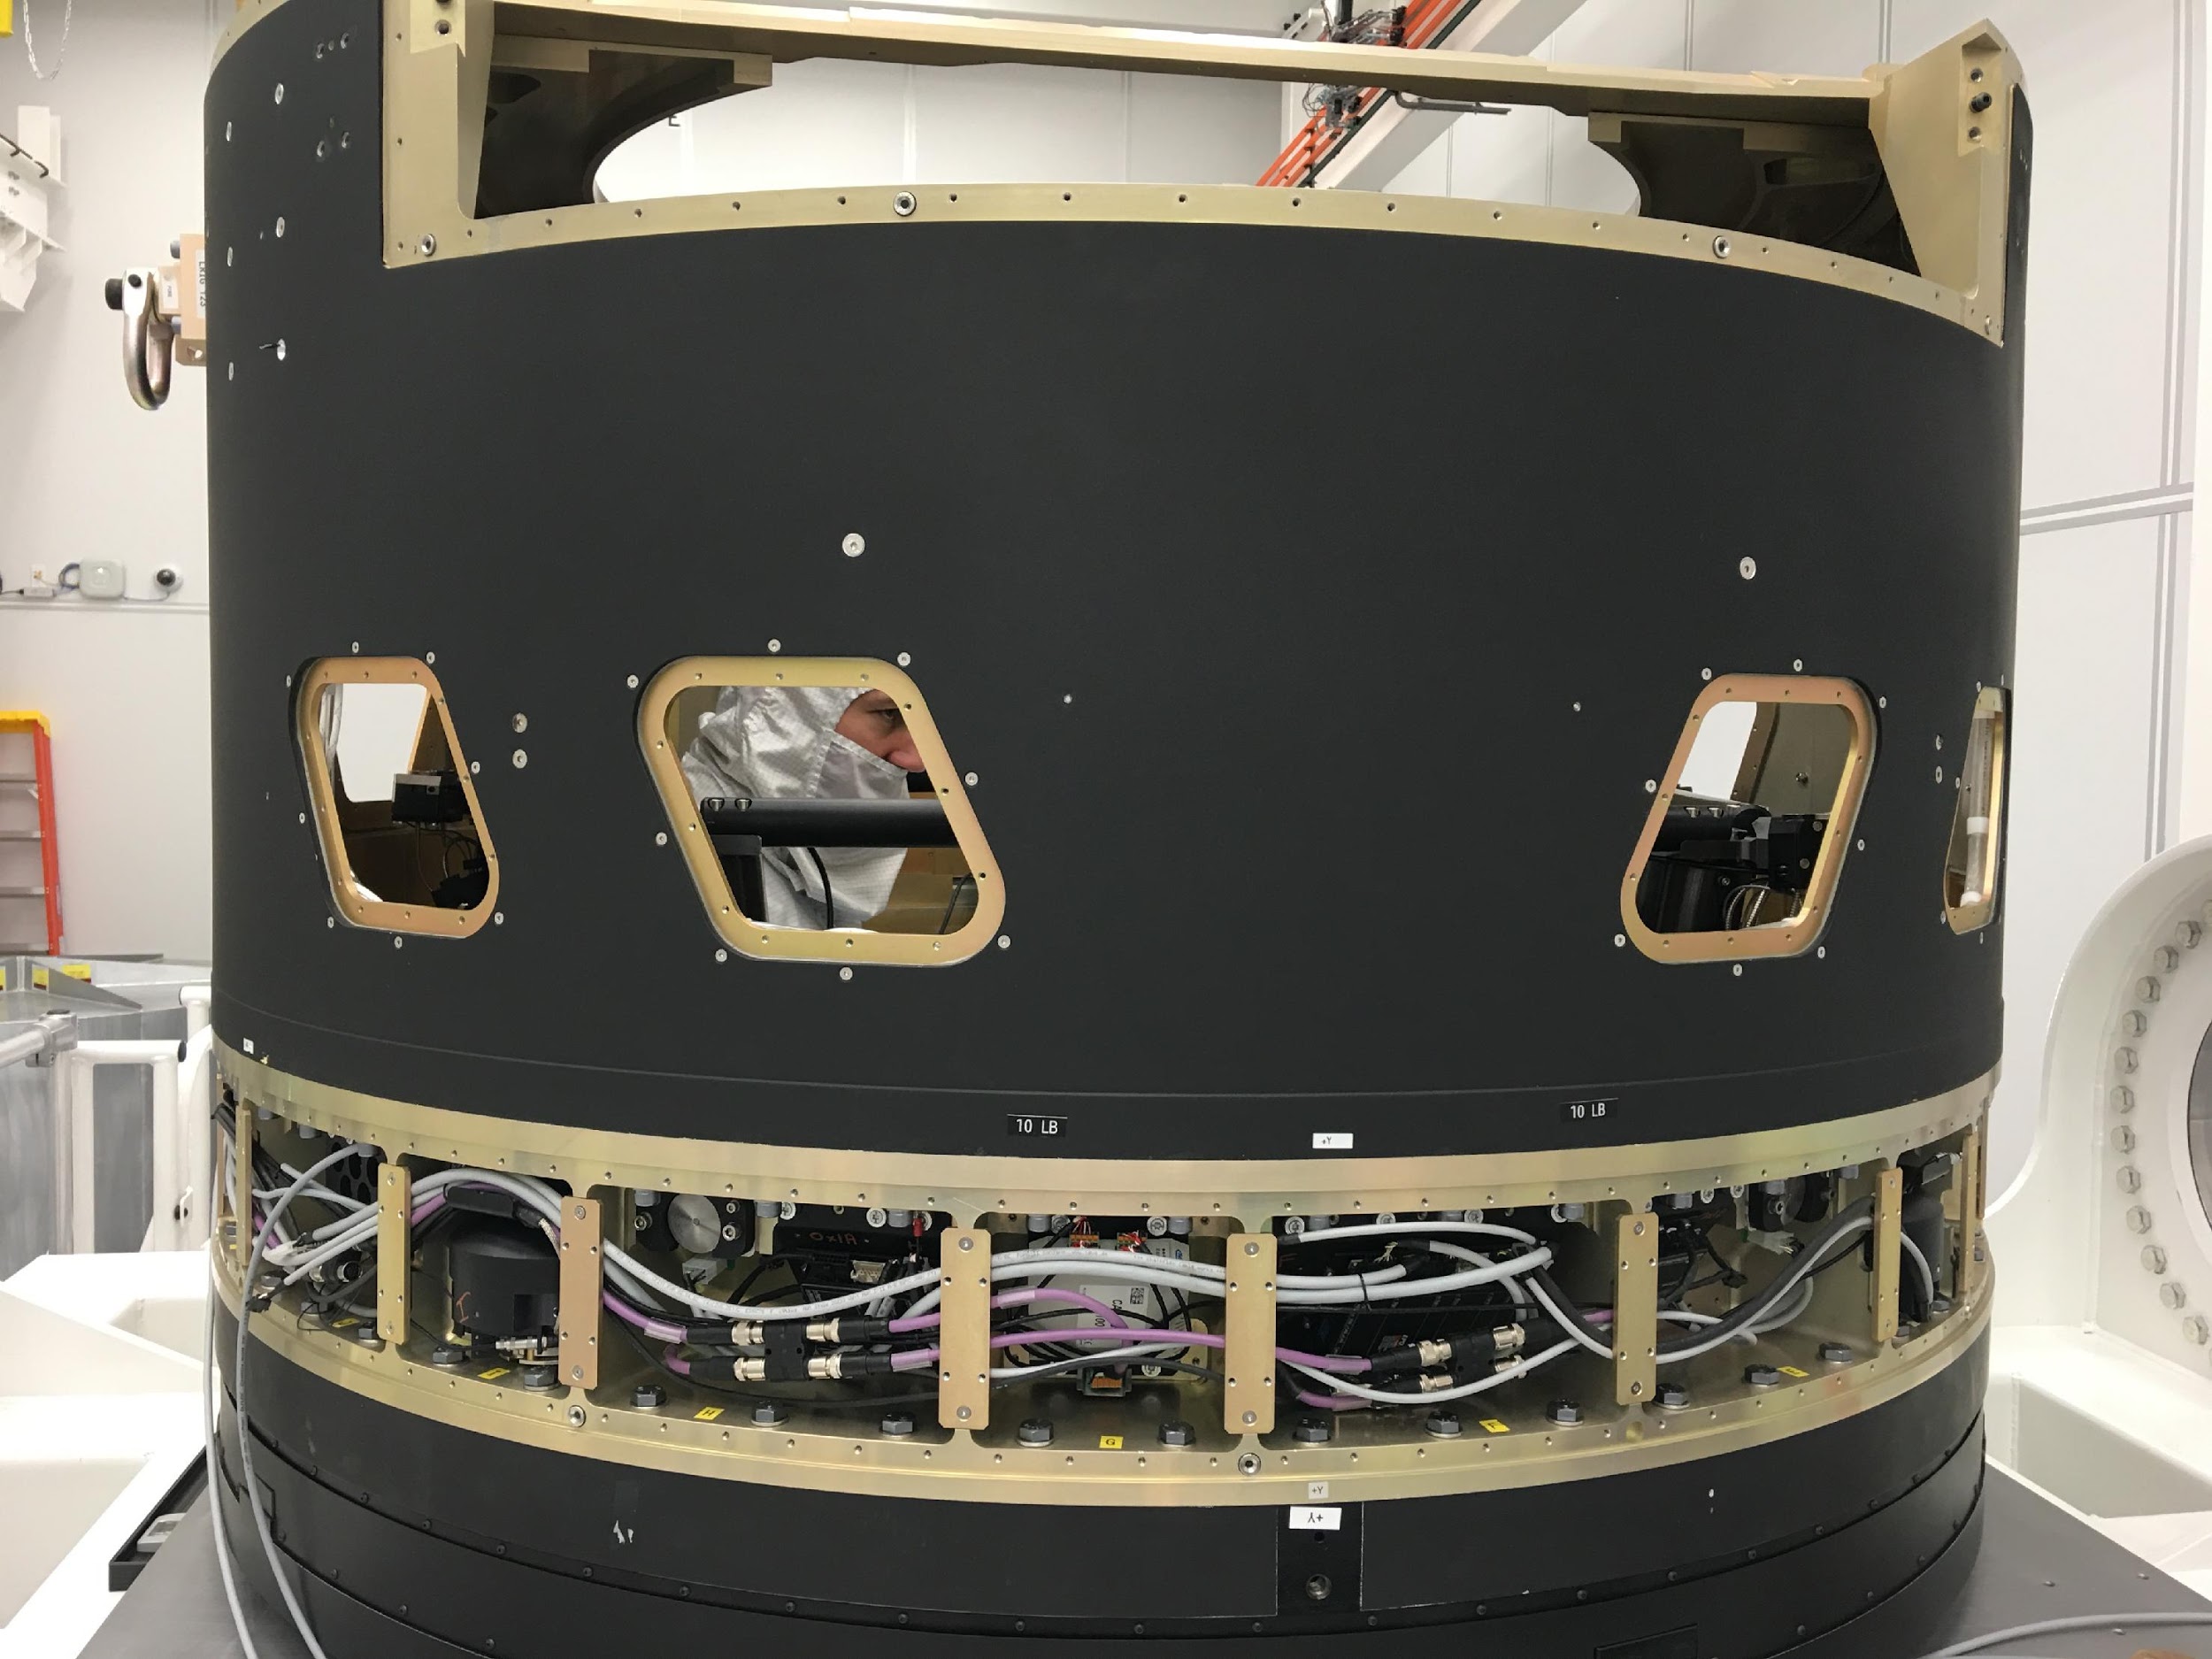
The best access to remove a clamp is to use the windows on top of camera body when the camera is in maintenance postion in Chile. They are near the auto-changer slot. In respect of this photo to remove a X- clamp the two access windows on the left ( to be confirmed ??? ) should be opened and for a X+ clamp the two access windows on the right ( to be confirmed ??). |
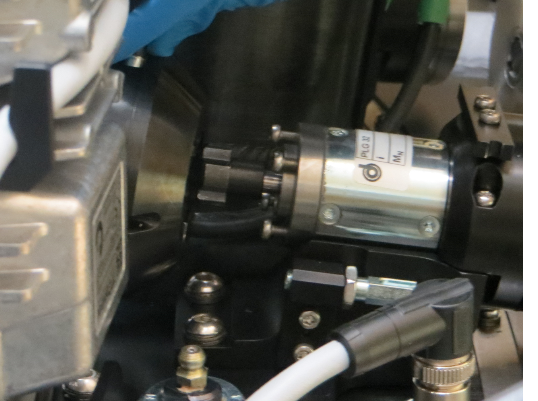
| 400 | Present the clamp in front of the pentagon support | Initials | Date |
| 400,10 | 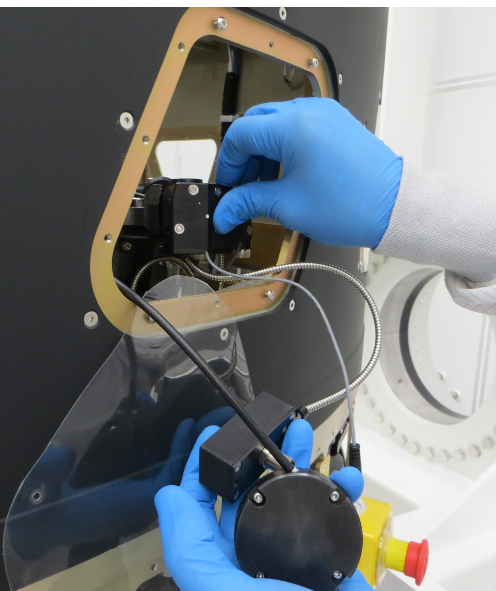 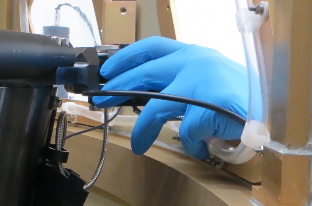 | ||
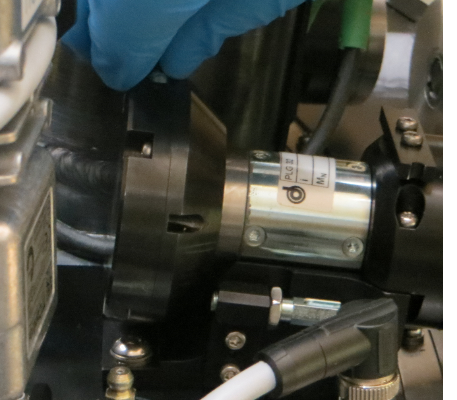
| 500 | Screw the clamp ( 2 M5x50 , part of the clamp) | Initials | Date |
| 500,10 | 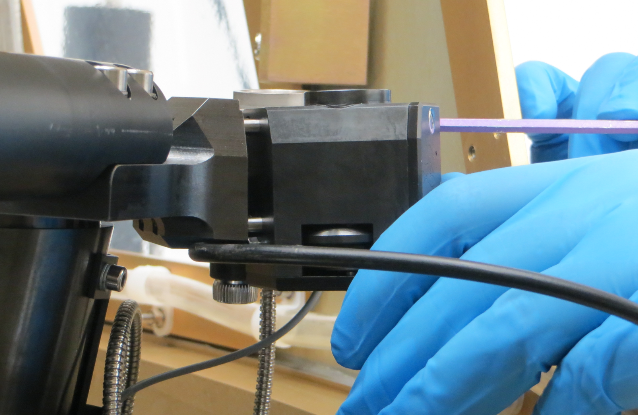 | ||
| As you screw , be careful with the clamp cables hanging outside the camera body. | |||
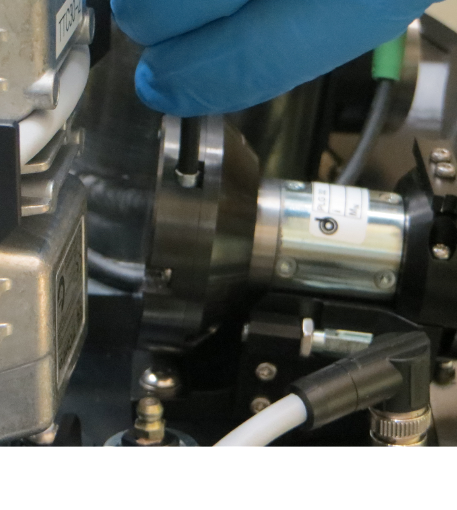
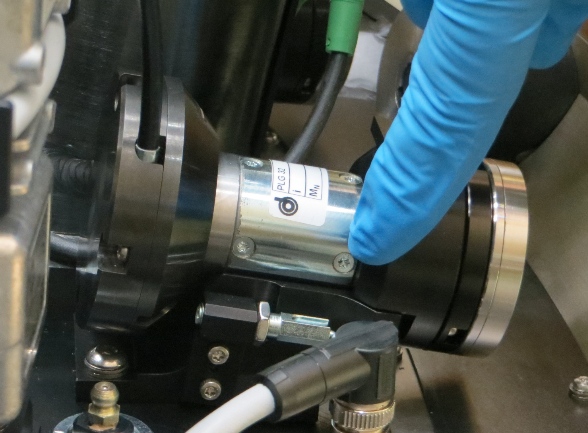
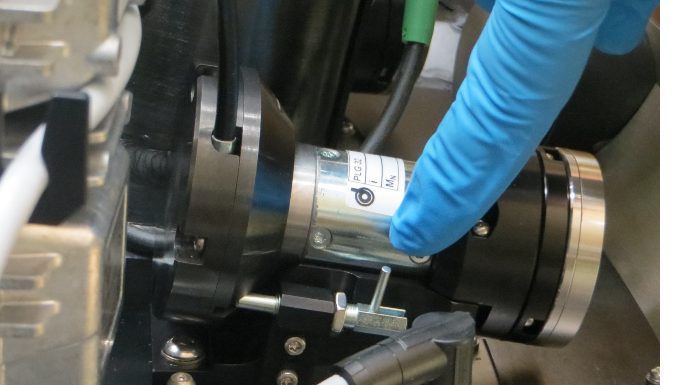
| 600 | Connect the clamp sensor | Initials | Date |
| 600,10 | 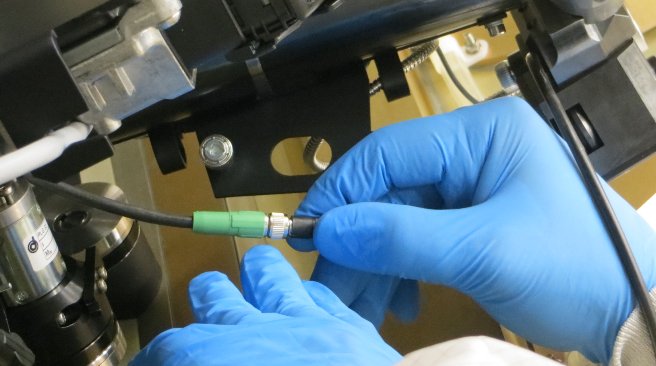 | ||
| 700 | Pass the clamp sensor cable inside its support on the pod | Initials | Date |
| 700,10 | 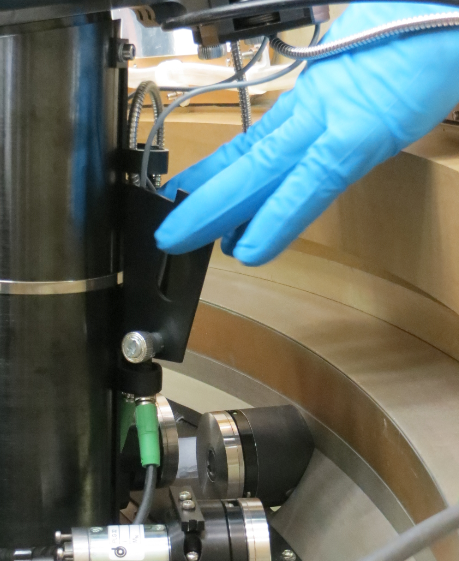 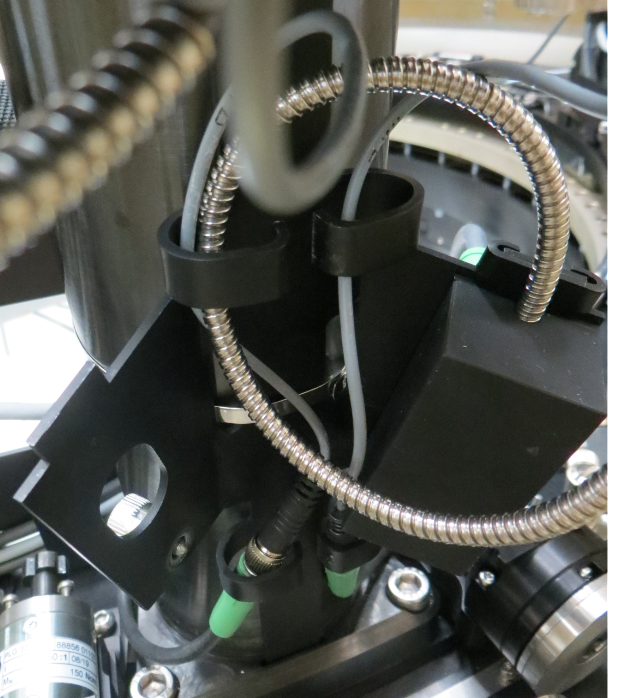 | ||
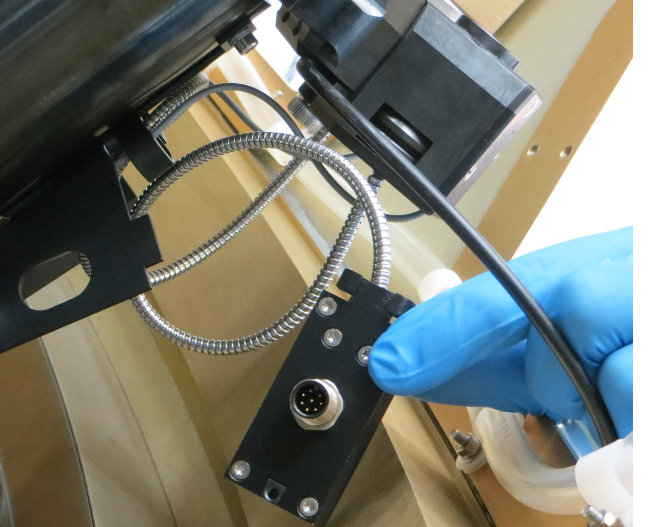
| 800 | Install the Electronics Box | Initials | Date |
| 800,10 |
Fix the electronics box using the silver gnob (visible bellow the plug on the picture above) . | ||
| 900 | Put the unclamping finger control in the right position | Initials | Date |
| 900,10 | 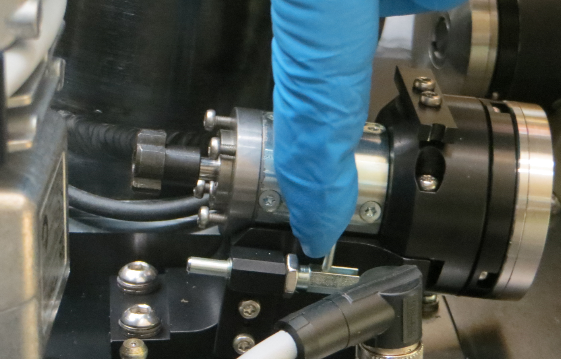  | ||
| 1000 | Pub in place the unclamping reducer assembly | Initials | Date |
| 1000,10 |
| ||
| 1100 | Put back the rotation stop in place | Initials | Date |
| 1100,10 |
| ||
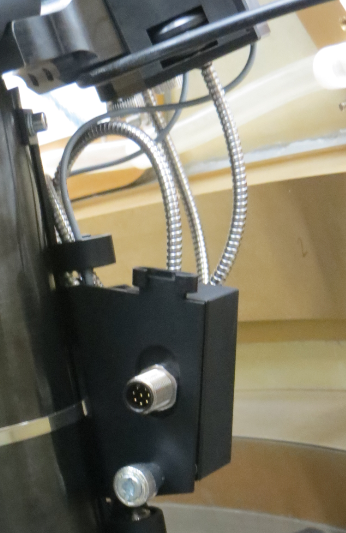
| 1200 | Connect the clamp sensor cable to the electronic box | Initials | Date |
| 1200,10 | 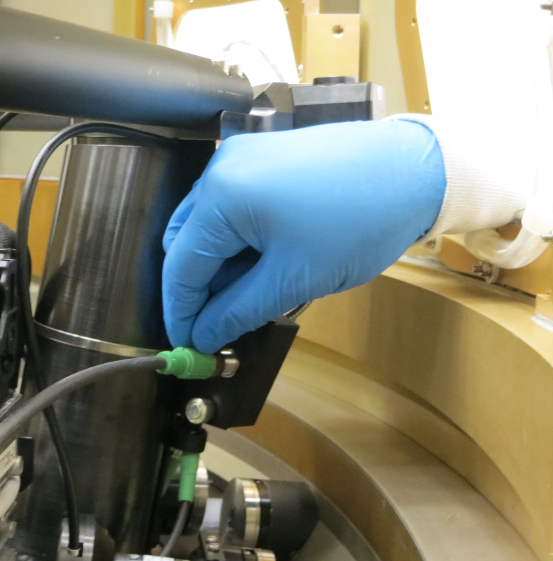 | ||
| 9999 | End Of Traveler | Initials | Date |
| 9999,10 | Work complete | ||